There are two types of people: those of us that Christmas shop months in advance, and those that leave it to the last minute. I usually belong to the latter group. My friend Anthony on the other hand, is much more on the ball. When he suggested getting an early start on the gifts this year--making soap--I jumped on board! Already I could put my new-found scent knowledge to work! Anthony had originally planned to use a Martha Stewart “recipe” that involved melting down glycerin (which often turns out much prettier than the natural stuff) but I was adamant about starting from scratch and using all natural ingredients. Anthony commutes to San Francisco every week so we didn’t get to talk much before our Saturday date. I emailed a couple of recipes found on the internet (thanks to BC-based Cranberry Lane!). We decided to meet at a shop (recommended to me by Linda Rodin) called Aphrodisia in the West Village. We both arrived just after 11 and were wandering up and down the street when we bumped into each other in front of the boarded up store. It seems that Aphrodisia had recently closed up shop. Luckily, my perfume teacher had recommended another essential oil store just down the street--Enfleurage.
We spent a good hour testing out various scent combinations and talking with the very knowledgeable guy behind the counter about the beneficial characteristics of the oils (since we were making soap, having something naturally anti-bacterial was ideal. Apparently most of the menthol and spicy scents are good for this). We also decided to buy some clay for its purifying qualities. We loved so many of the fragrant oils that we decided we would make two soaps--one with more of a kitchen focus (fresh ginger and bay rum) and a bathroom bar (rosewood and anise ).
Next we went uptown in search of a thermometer, soap molds, various types of fatty oils and the key ingredient--highly toxic lye! We found the thermometer and molds at Michael's craft store. Whole foods was conveniently right next store, so we loaded up on organic olive, coconut and almond oil. The lye was a lot harder to track down. We both got out our iphones and googled (and called about 9 different hardware stores). Finally we tracked it down--and bought two jars, in case we ever wanted to make it again. Now that we had spent over half the day getting our ingredients we were just about set to start making our mix. Anthony wanted a quality liquids scale so we stopped in at William Sonoma for a top of the line XOXO digital scale. I think by the end of the day, we had each spent around $70. This soap wasn't going to be cheap!
Back at Anthony's we got our workspace organized and started out by measuring the three oils on the scale. They had to be heated to approximately 160 degrees Fahrenheit. While the oil was heating, we got down to business and experimented with the chemistry of lye and water. Goggles and gloves protected us from the highly toxic substance. Part way through, I realized I had bare feet. A lot of good those gloves would have done in the event of a spill!
[caption id="attachment_172" align="aligncenter" width="460" caption="Serious chemistry: combining lye with water"] [/caption]
The chemical reaction was actually really cool to see. Fumes started to rise as the lye entered the water and, almost immediately, the temperature of the water rose to HOT! Back on the stove, we added the clay to the oil and then transferred it into a metal bowl. We very carefully poured the lye mixture into the oil--this is supposedly when the toxicity of the lye neutralized. We started out using a regular kitchen spoon, but after stirring for over 10 minutes, switched over to the hand blender (as you can imagine, Anthony was a little hesitant to stick his everyday blender into a possibly poisonous bowl of liquid). The blender quickly sped up the process and in no time, we had formed a trace--or thickening of the mixture (a pudding consistency). Next we added the essential oils, and got adventurous with some ground cardamom and cinnamon--these bars were Christmas themed, don't forget.
[caption id="attachment_175" align="aligncenter" width="460" caption="Anthony pouring the soap into molds"] [/caption]
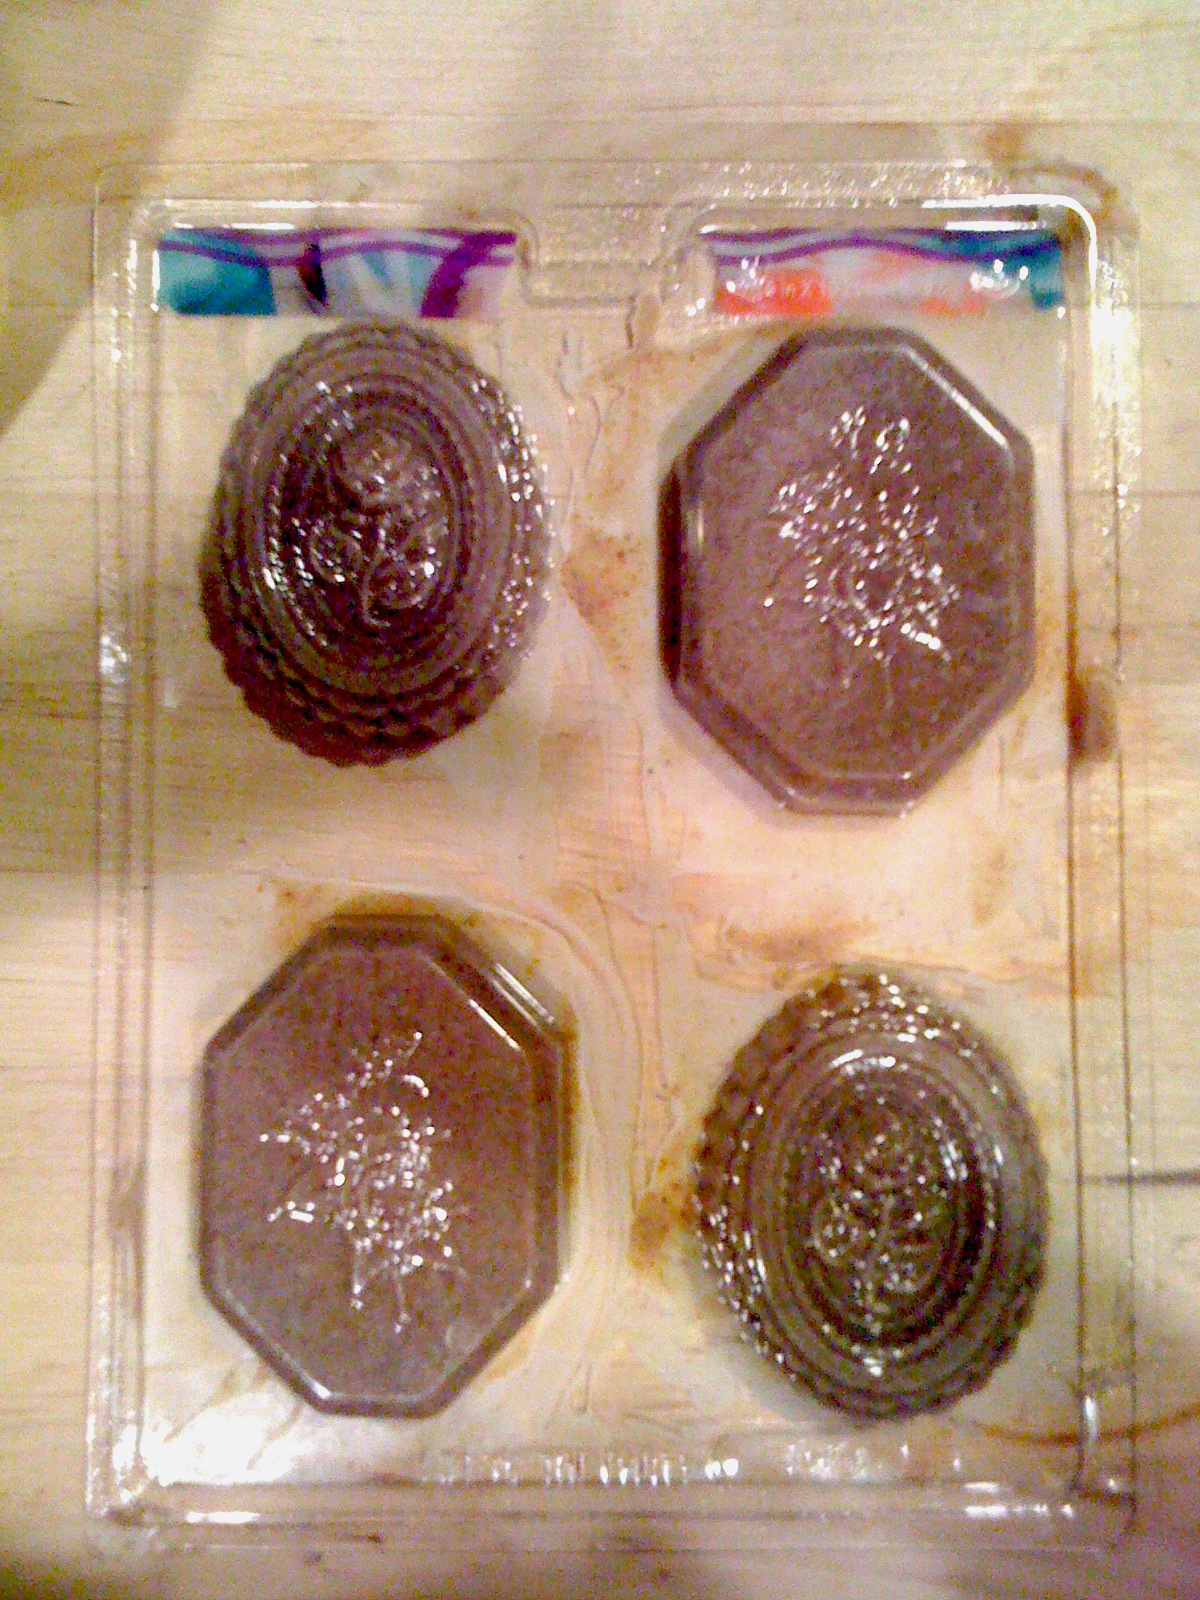
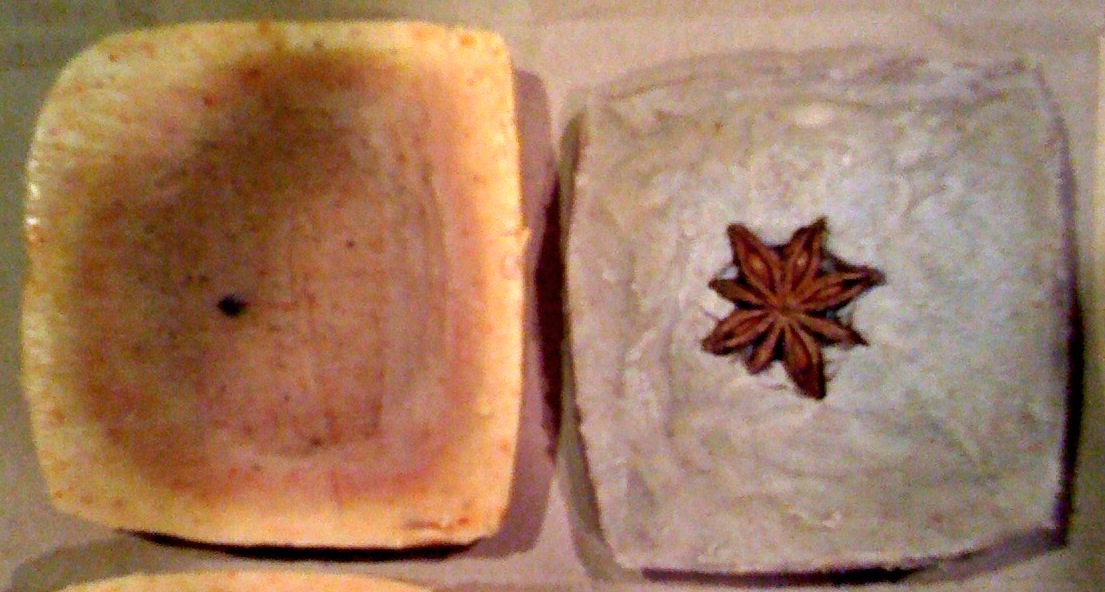
The soap formula was now complete! The last step of the day was pouring into the molds. We used the ones from Michaels--seashells and hearts, along with a few classic french rose molds as well as a recycled soy milk carton (for some square bricks). We then repeated the entire process for the "kitchen" bars, but ended up throwing in some tumeric to experiment with the color. It created an interesting orange hue when mixed in (and later separated to the edges in the molds, creating an interesting two-tone effect--see final picture).
[caption id="attachment_183" align="aligncenter" width="460" caption="Our lovely french soap molds from Michaels"] [/caption]
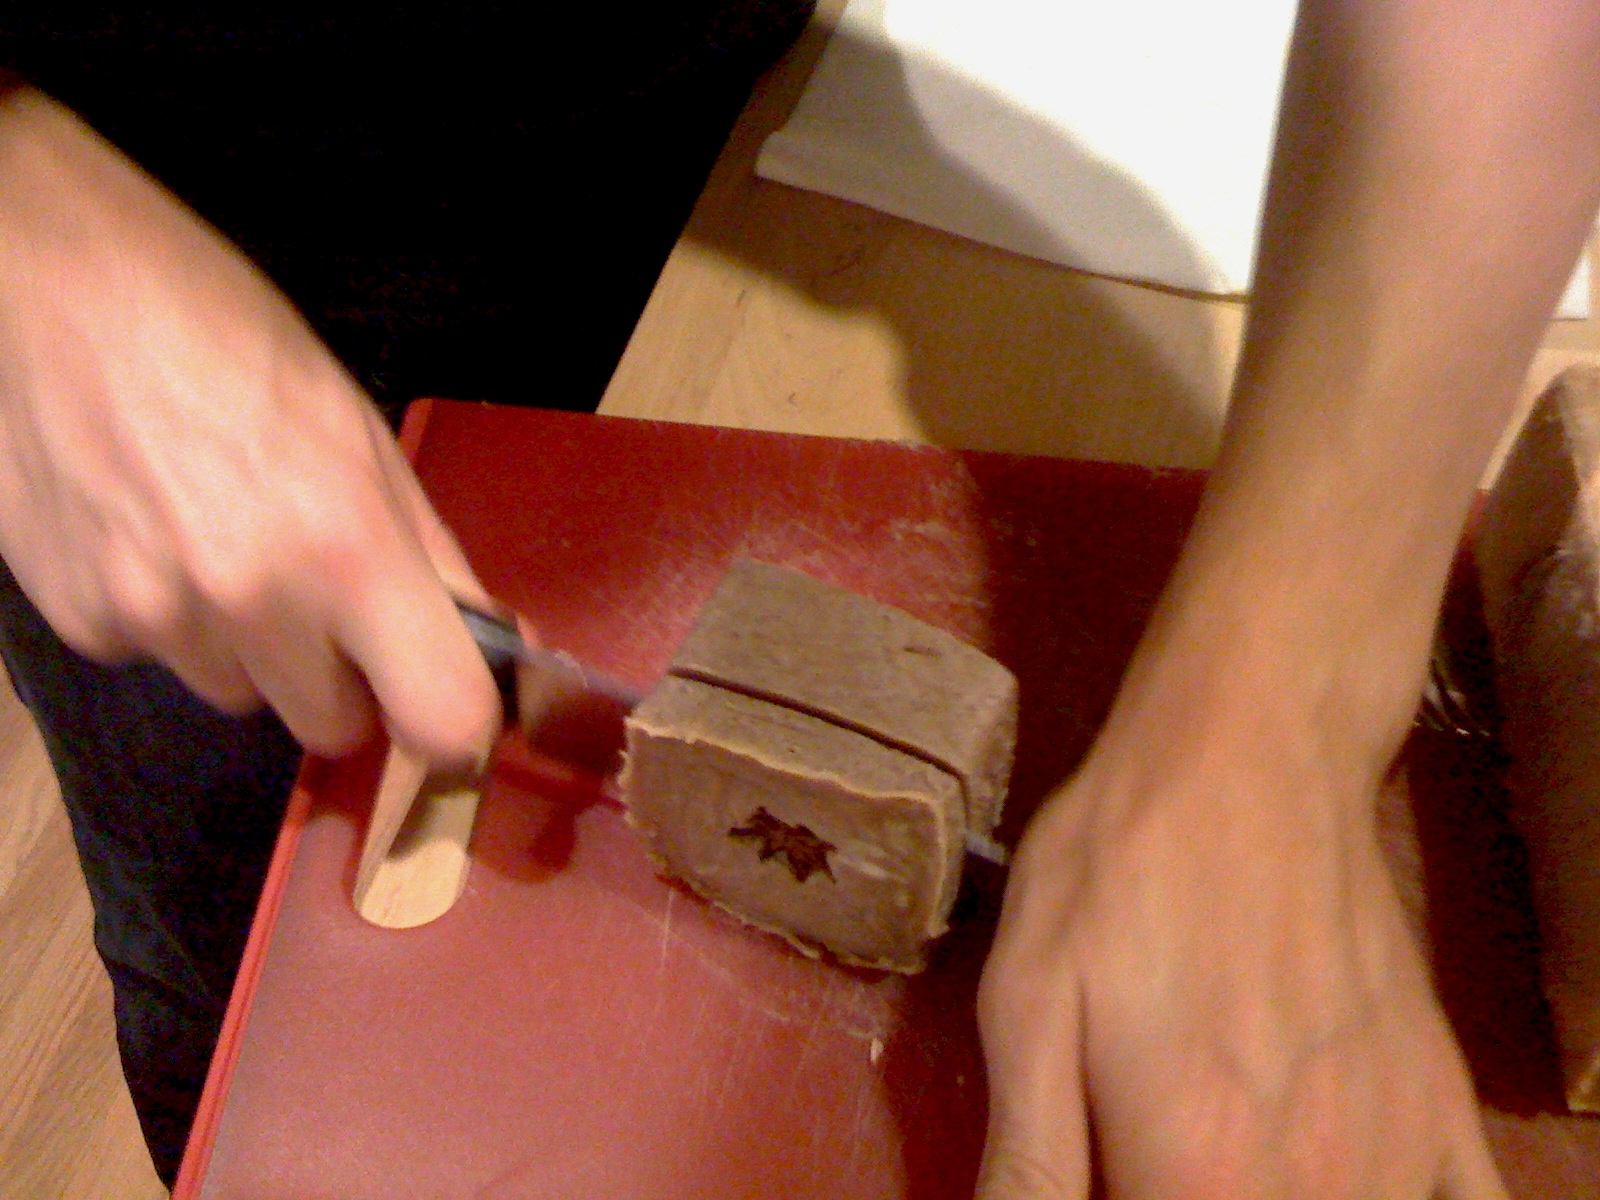
24 hours later, I stopped by Anthony's to prepare the soap for a four to six week curing process. We took the soap out of the molds, and cut the bricks into bars. Some of the molds--the hearts and seashells in particular were a bit difficult to pop out, so we put them in the freezer for a couple of hours. The bricks were a pretty easy consistency to cut.
[caption id="attachment_184" align="aligncenter" width="460" caption="Cutting the brick soap into bars"] [/caption]
The last step involved wrapping the soap in parchment paper (which we forgot, so we used cut up Whole Foods bags). The final step read, "cover with wool blankets", for which we used old tea towels.
[caption id="attachment_185" align="aligncenter" width="460" caption="The final result: one bar of each kind of soap"] [/caption]
It was kind of funny doing the cleanup--washing soap off with soap. The freshly made batches smelled amazing and even suds up a little bit. Supposedly, once the curing process is complete, we will have perfect, naturally sudsing bars of soap. I think we have about 12-15 mini-bars and approximately 18 larger bricks. I can hardly wait!